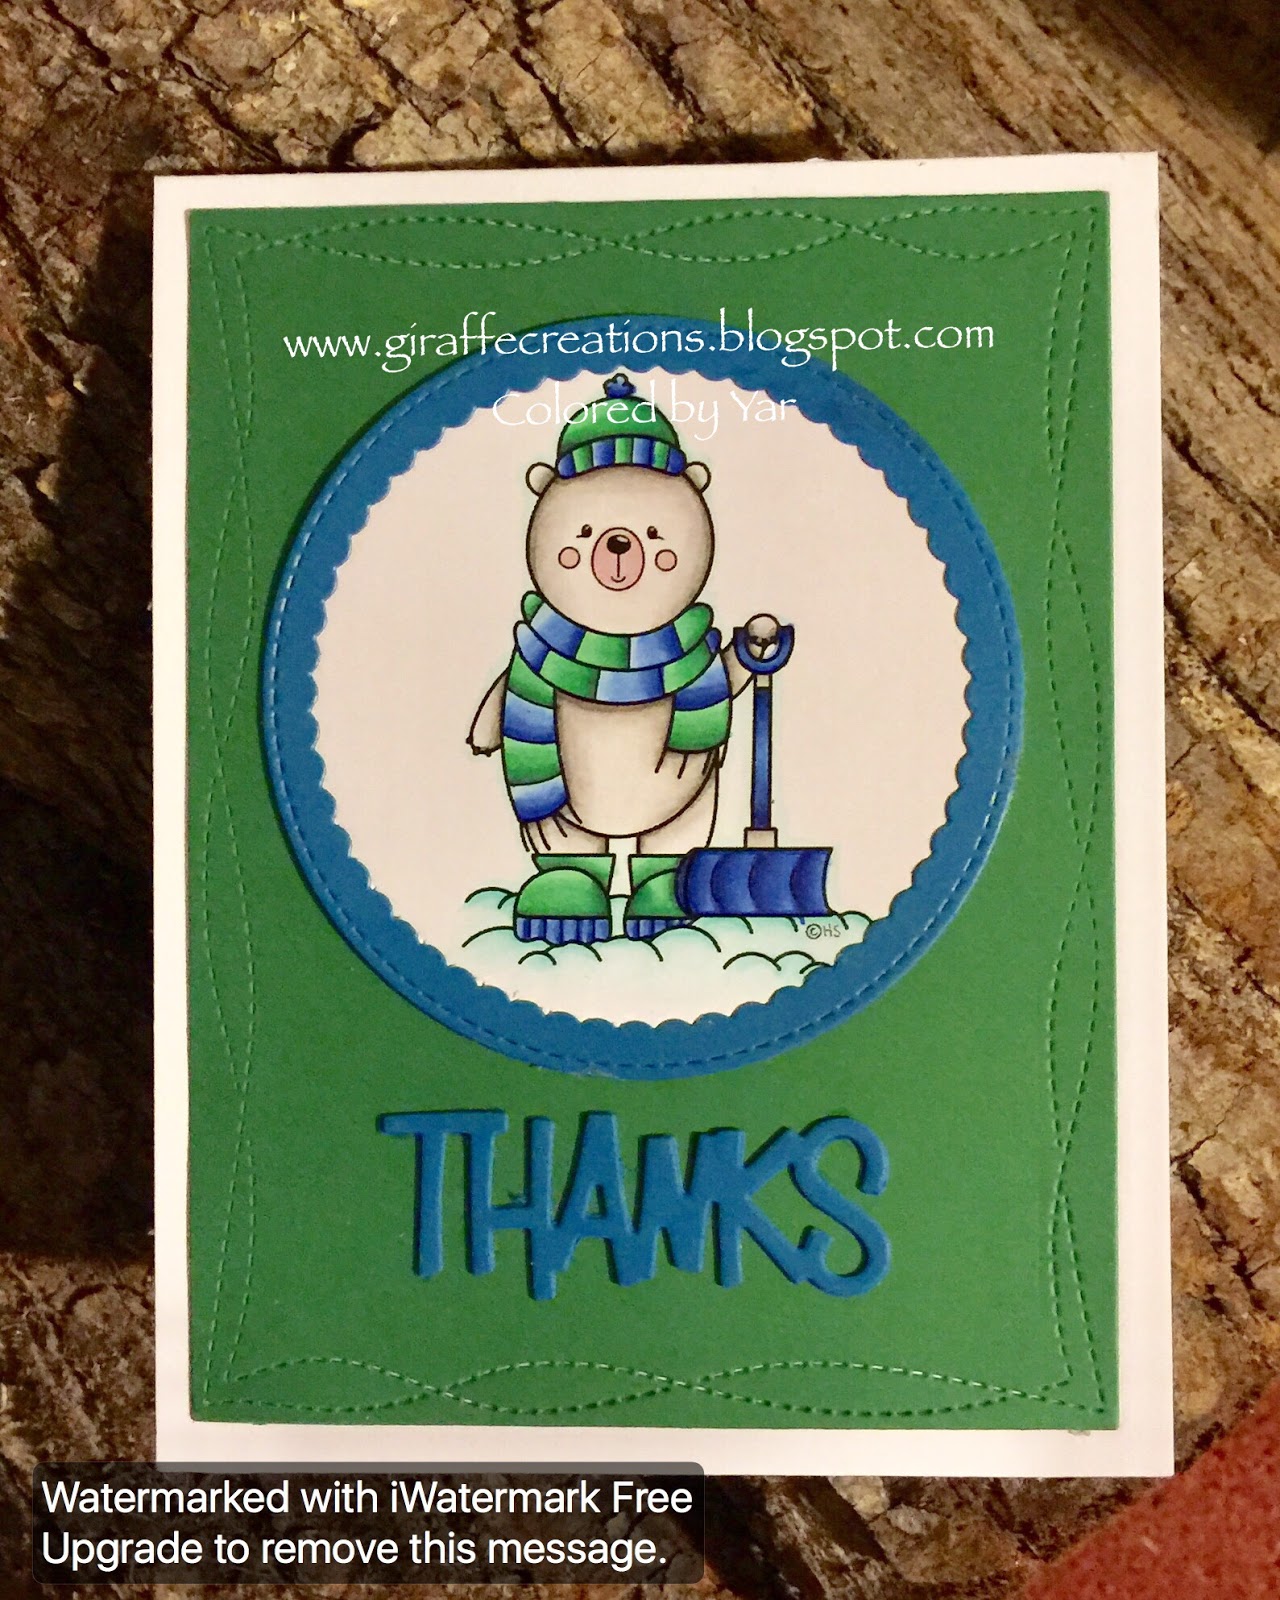
Monday, April 24, 2017

Fanfare Fold Card

Hola!

Today I am working on the card for the Fanfare Fold Card Swap.

This is the first time I do one of these cards and I really liked it.  
Beware: Extra postage required!
This card is thick and bumpy, 
I had to add an additional $0.21 stamp to mail within the USA.

To make this card:

Step 1. Base card is a regular A2 size card 
I used 110# white cardstock from Recollections
dimensions: 4 1/4" x 11"
folded in half: 4 1/4" x 5 1/2"

Step 2. You will need a piece of paper measuring 4 1/4" x 11" 
for the folded part of the card (I used Stampin' Up Pool Party paper) 

Step 3. Score the paper at  (I used Pool Party):
1.5"
3"

5.5"

8"


Step 4. Cut the panels to decorate each fold. 

(I used designer paper from the Sweet Sorbet collection from Stampin' Up):
4"x2 3/4"

4"x2 1/4"

4"x1 1/4"

4"x2 1/4" - for the message panel.

Step 5. Adhere panels and assemble your card and decorate!


I hope you enjoyed the card!

Have a great day!
Adiós,
~~Yar

Wednesday, April 19, 2017

Flip & Fold Card for SWAP

¡Hola!
Flip & Fold card

Today I am sharing with you my "Flip & Fold card" 
for the swap of the same name.  
It is an easy way to fold and it adds a little pizzazz to your cards.

  • What I used:

Base: 5" x 12" Double sided Stampin' Up (SU) paper
Score base at: 2", 4", 8", and 10"
Message Panel back: SU's Island Indigo : 3.5" x 5.25"
Message panel (white): 3.25" x 5"
Dies: SU label dies (paper - Island Indigo)
Panda digital stamp: By 2CuteInk
Scribble lines die: From my stash

  • Process:

Step 1: Cut base, 5" x 12" 
Step 2: Fold base in mountains and valleys - like an accordion!
Step 3: Cut the top on a diagonal - 
from the fold next to the message panel to half of the end border of the card. 
Half is at 2 3/4" (Since the card is 5 1/2" tall). 
Do not discard the triangles. 
You will use them to decorate the cards shown below.  
Step 4: To decorate: glue the triangles to the card. 
Match the folds on the card to the ones on the triangles. 

Step 5: Glue message panel and decorate card.
I used a cute Panda from 2CuteInk, 
a SU label framelit die, scribbly lines dies, and 
major Wink of Stella.


This is the back of my card.
Card is closed.
 I hope you liked learning about this new (to me) fold. 
Gracias,
Adiós,
~~Yar


Monday, April 17, 2017

Will my Scan N Cut cut images from my Altenew stamp sets? Blog and video

¡Hola!
Today I am here to share  two different cards with you. 
I used the same process, but different colors. 
I also wanted to find out if my Brother Scan-N-Cut 2 
could cut the type of "multiple layering stamps" from Altenew.
- The answer is YES!!! 
You can watch the stamping and cutting process below|or on YouTube 

  • Goodies used:
Pink card:
I will use the pink card on a Mother's Day Swap from Facebook
Stamp set: Altenew Vintage Flowers
Inks pink card: SU Blushing bride, SU Melon Mambo, SU Real Red
papers: SU daffodil delight, SU Mossy Meadow, SU Melon Mambo
Die: SU Secret Garden (leaves) 
Die: Happy from Mama Elephant
Die: Wonky Rectangles from Gina Marie Designs
Embossing folder: SU Vine Street

Yellow card:
This one was used as a sympathy card for a good friend.
Stamp set: Altenew Vintage Flowers
Inks yellow card: SU Daffodil Delight, SU Cantaloup Crisp, SU Tangerine Tango
papers: SU daffodil delight
Die: SU Secret Garden (leaves)
Embossing folder: SU Vine Street
Die: Background frame by Gina Marie Designs

 I hope you enjoyed this post and video!
Keep on stamping!
Adiós,
~~Yar


Sunday, April 16, 2017

CDD: Platypus Image

Hola!


Happy Easter!!! 

I wanted to share a new card with you.


What did I use?
Digital Image: Platypus from Crafting Desert Divas
Copic Markers to color Platypus
Paper: Stampin' Up Pool Party and Crushed Curry
Dies: X-STitched Tag dies - from my stash
Embossing folder; Clouds by Darice
Wink of Stella


A close up on this cute little image!

Enjoy!
Adiós,
~~Yar

Tuesday, April 11, 2017

FTHS Sketch Challenge # 169


 Hola! 
I am here with a new card to share!


This cutie was submitted to the FTHS Sketch Challenge 169.
This post is a bit late, but I still wanted to share this card with you.
Here is the sketch I followed.  

I used Copic marker to color the Tulip and Distress ink pads to color the background
The doily is from MFT
and I also used NUVO drops in Wisteria (LOVE these!!!)

Here is a closeup of the tulip. I added Wink of stella and glossy accents.


Challenges:  
FTHS Sketch 169
Copic UK Purple Challenge for April 2017
Doily Swap for Swap Group on Facebook
Facebook Chatty Scrappers mood board challenge 

The image is from the Diggin Dog digital stamp.
Too cute!

Tip of the day:
If you are having a hard time getting inspired...try following a sketch.
You can always do your own little twist!

I hope you enjoyed it!

Adiós,
~~Yar


Sunday, April 2, 2017

A thank you card for Mr. T - our neighbor & coloring video

Hola, 
I am back with a thank you card for our awesome neighbor Mr. T.

A few weeks ago we had a bad snow storm and Mr. T saw my kiddos 
shoveling my daughter's car out and he came to help.

I thought this bear from 2CuteInk was super appropriate!
I think my kids learned a few lessons that day:
1. always help your brother or sister,
2. help a neighbor if you have a chance,
3. and always, always be thankful when someone offers you help.

I you are interested on watching the coloring video, here it is.

YouTube video link


Copics used:


Hope you liked it!

Adiós,
~Yar